How to install Windows 11 Insider Preview builds
- To enroll and install Windows 11 preview builds, open Settings > Windows Update > Windows Insider Program, click “Get started,” link your account, select the “Canary,” “Dev,” “Beta,” or “Release Preview” channel, restart, and check for updates to download the latest Insider Preview build.
- To install a Windows 11 Insider Preview on Windows 10, open Settings > Update & Security > Windows Insider Program, click “Get started,” link your account, select the “Dev” or “Canary” channel, restart, and check for updates to download the latest build.
- Alternatively, you can install or upgrade a device to the latest Windows 11 Insider Preview build by downloading the ISO file.
If you want to install Insider Preview builds of Windows 11, you have at least two options, and in this guide, we’ll show you how for devices already running Windows 11 or even Windows 10. As part of the Windows 11 development, you can enroll a device in any of the three available channels of the Windows Insider Program, including Canary, Dev, Beta, and Release Preview. Although installing these pre-releases of the operating system is safe, you will find some hiccups depending on the channel you choose.
The “Canary Channel” offers previews for the latest platform changes early in the development cycle. These builds can be very unstable, you may need to reinstall the operating system to resolve issues, and the previews in this channel are released with limited to no documentation and are only recommended for highly technical users. These previews will usually include changes that Microsoft may be working on for future versions of the operating system (such as Windows 12).
The “Dev Channel” is also for technical users since previews are rough and contain a lot of bugs, but this channel is more stable than the Canary. Usually, you will encounter errors and problems, and you may have to use workarounds to resolve issues.
The “Beta Channel” is for anyone who wants to test upcoming features or validate apps. The builds in this channel are somewhat stable, but you may still run into issues. Also, features in this channel are typically those expected to ship in the final release of Windows 11.
Lastly, the “Release Preview Channel” offers the final build of the next version of Windows 11 before it is available to everyone, with advanced quality updates and certain key features.
This guide will teach you the steps to enroll a device and install the latest preview build of Windows 11.
Install Windows 11 Insider Preview build from Windows Update
In the Windows Insider Program, you can enroll any computer that uses Windows 11. However, if you have a computer running Windows 10, the device must meet the minimum hardware requirements.
Windows 11
To enroll and install preview builds of Windows 11, use these steps:
-
Open Settings.
-
Click on Windows Update.
-
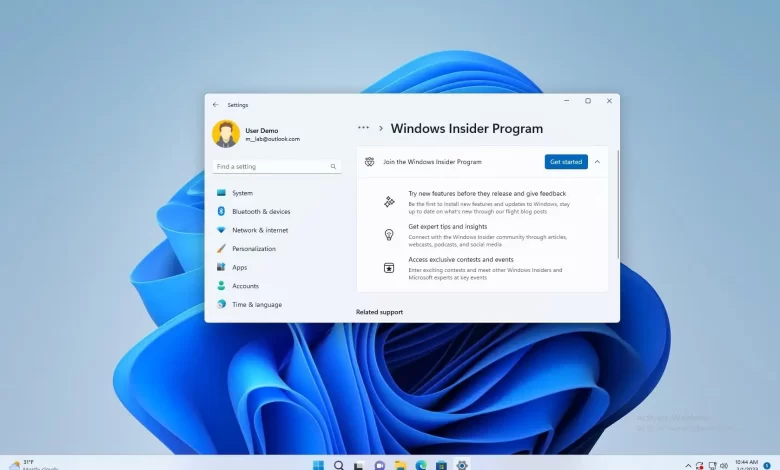
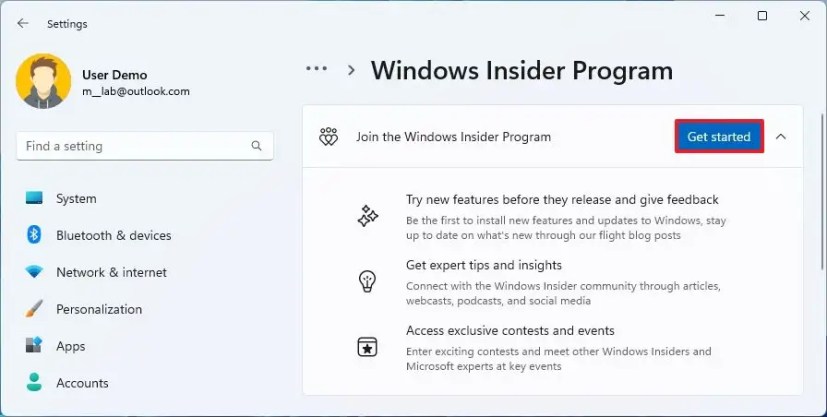
Click the Windows Insider Program tab.
-
Click the Get started button.
-
Click the “Link an account” button.
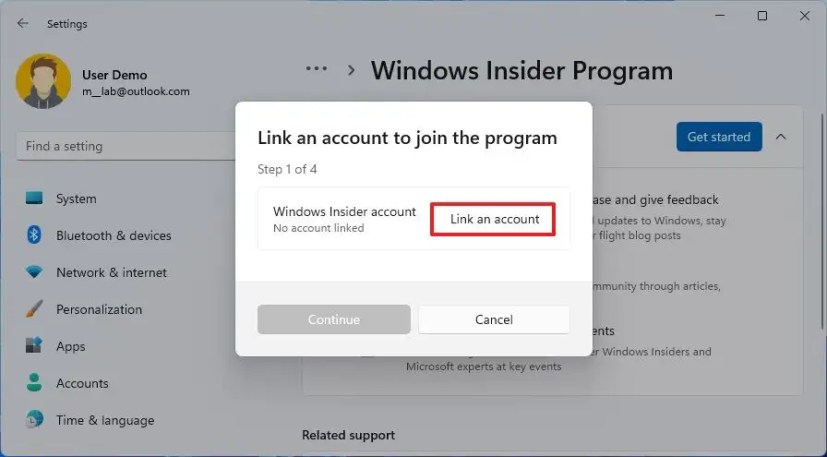
-
Sign in with your Microsoft account.
-
Select the program channel, including “Canary,” “Dev,” “Beta,” or “Release Preview.”
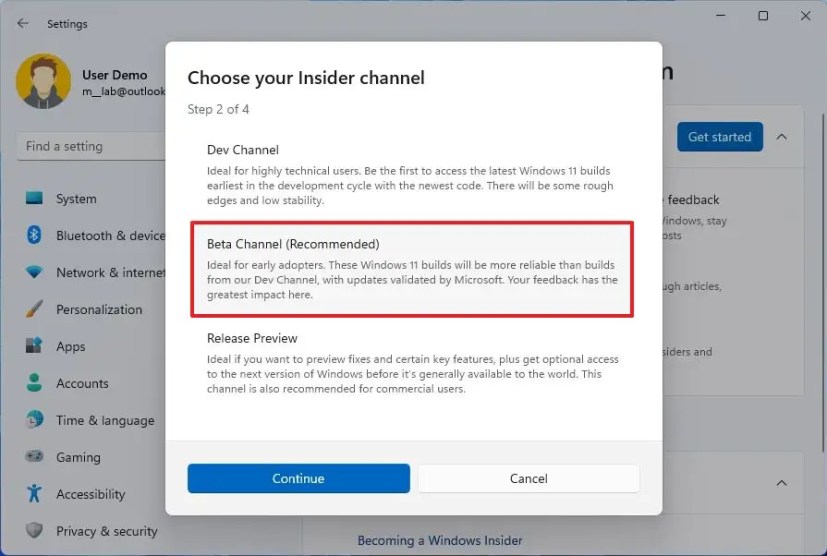
-
Click the Continue button.
-
Click the Continue button again.
-
Click the Restart button.
-
Open Settings after the restart.
-
Click on Windows Update.
-
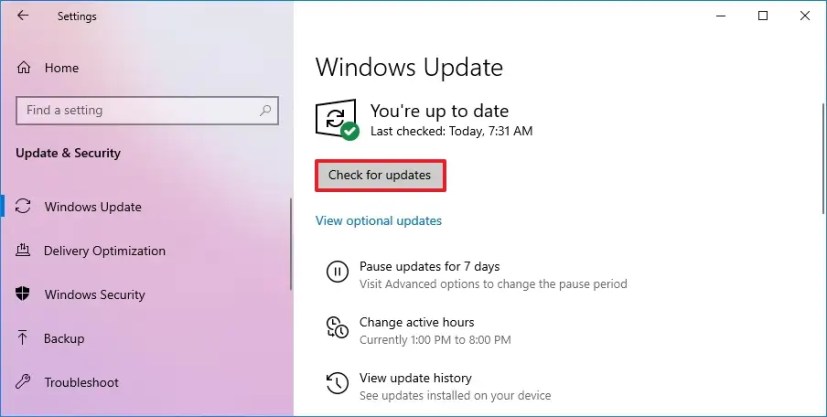
Click the “Check for updates” button.
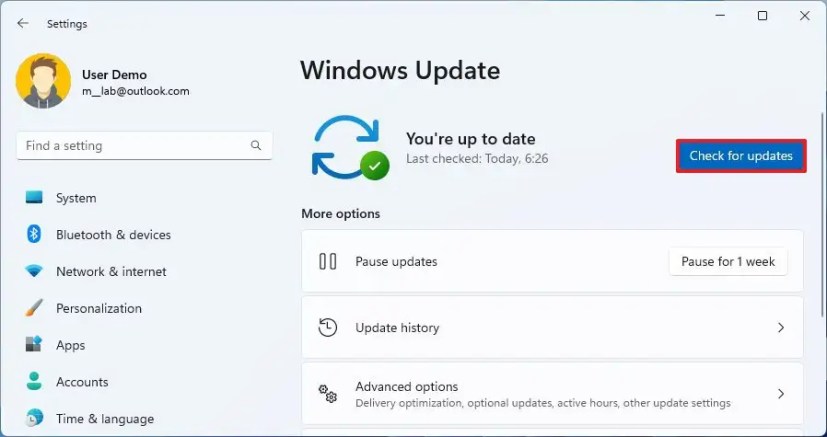
-
Click the “Download & install” button (if applicable).
-
Click the Restart button.
Once you complete the steps, the pre-release of Windows 11 will install on the computer, giving you access to experimental and upcoming features.
If a new build becomes available, it’ll download and install automatically. However, you can always force the update from Settings > Windows Update and click the “Check for Update” button.
Windows 10
To enroll and install preview builds of Windows 11 on a Windows 10 installation, use these steps:
-
Open Settings.
-
Click on Update & Security.
-
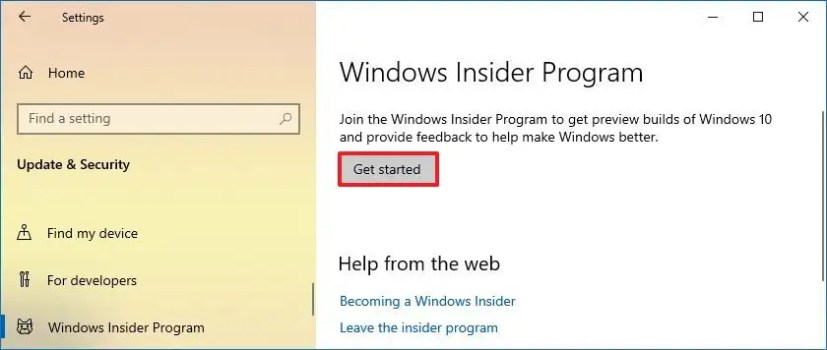
Click on Windows Insider Program.
-
Click the Get started button.
-
Click the “Link an account” option.
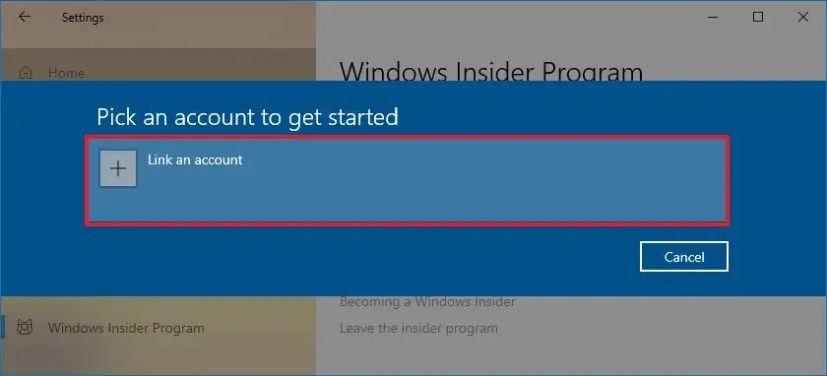
-
Sign in with your Microsoft account.
-
Under the “Pick your Insider settings” section, select the “Dev Channel” or “Canary Channel” option.
Quick note: The latest Windows 11 preview build will only download if your computer meets the system requirements.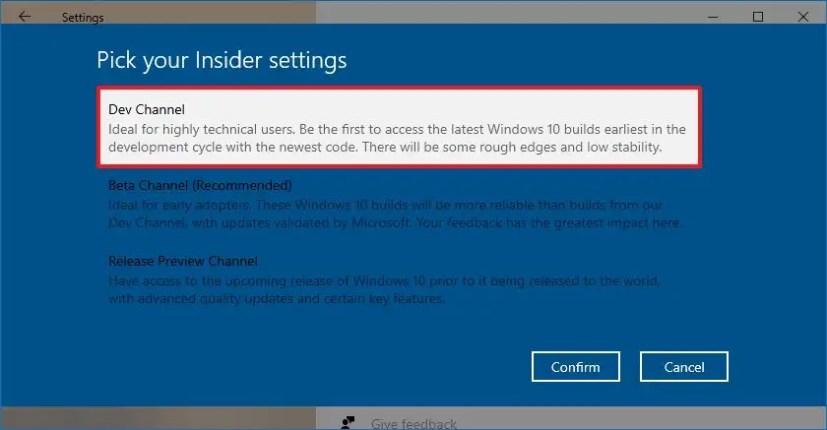
-
Click the Confirm button
-
Click the Restart button.
-
Open Settings after the restart.
-
Click on Update & Security.
-
Click on Windows Update.
-
Click the “Check for updates” button.
-
Click the “Download & install” button (if applicable).
-
Click the Restart button.
After you complete the steps, the computer will be upgraded to the latest preview of Windows 11 from the specified channel.
Install Insider Preview build of Windows 11 from ISO
You can also perform a clean install or upgrade a new Windows 11 insider build using an ISO file. This process will enroll the computer in the Windows Insider Program automatically.
To install a Windows 11 Insider Preview build from ISO, use these steps:
-
Download the latest Windows 11 insider build ISO.
-
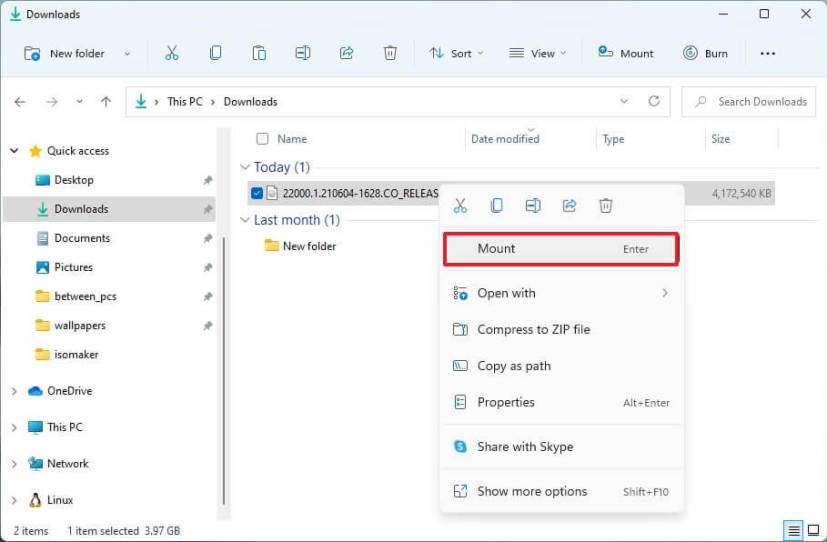
Right-click the ISO file, and select the Mount option.
-
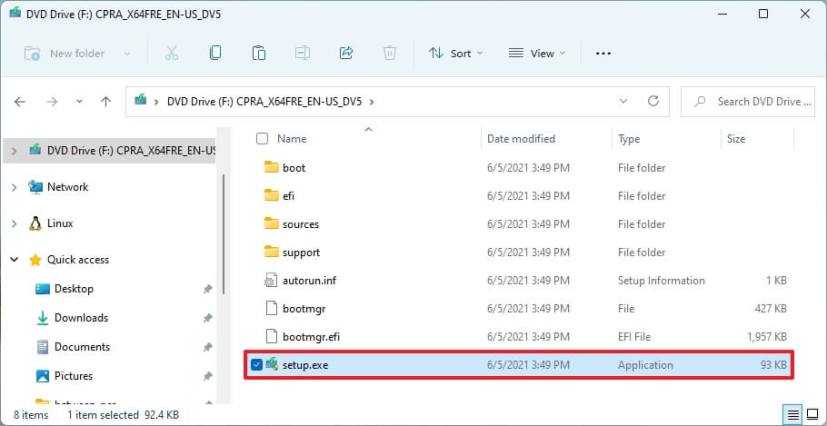
Select the virtual drive from the left navigation pane.
-
Double-click the Setup file to begin the Windows 11 21H2 installation.
-
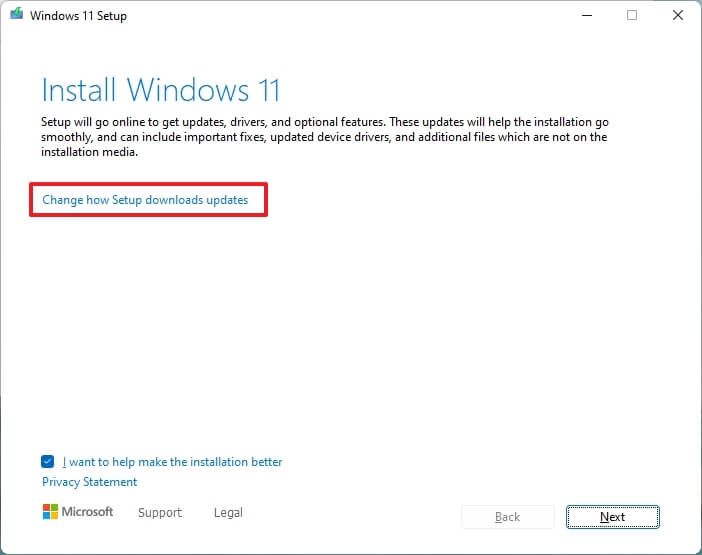
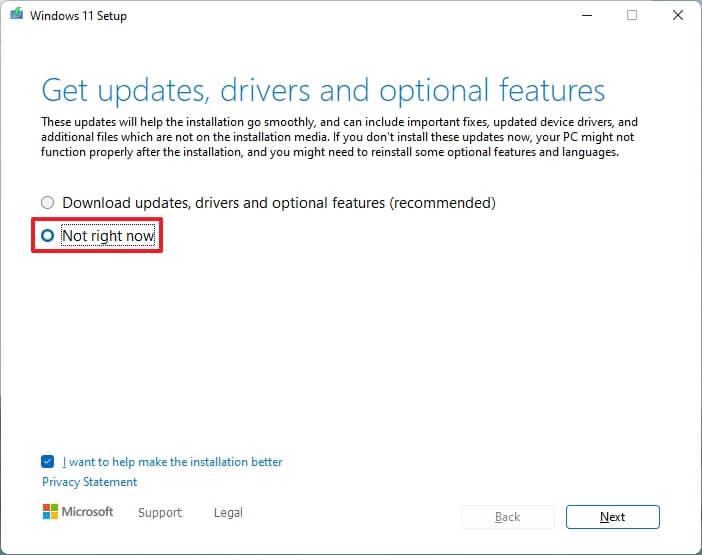
(Optional) Click the “Change how Windows Setup downloads updates” option.
-
Select the “Not right now” option.
-
Click the Next button.
-
Click the Accept button to agree to the terms.
-
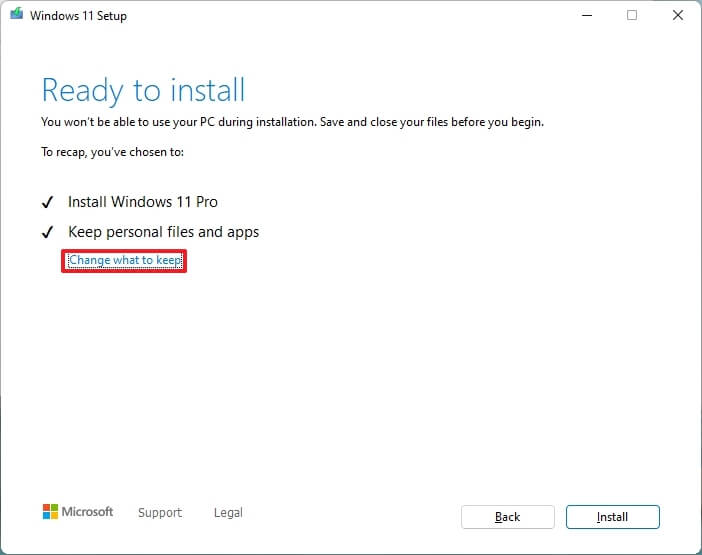
Click the “Install” button to upgrade or the “Change what to keep” option and select the Nothing option to perform a clean installation.
-
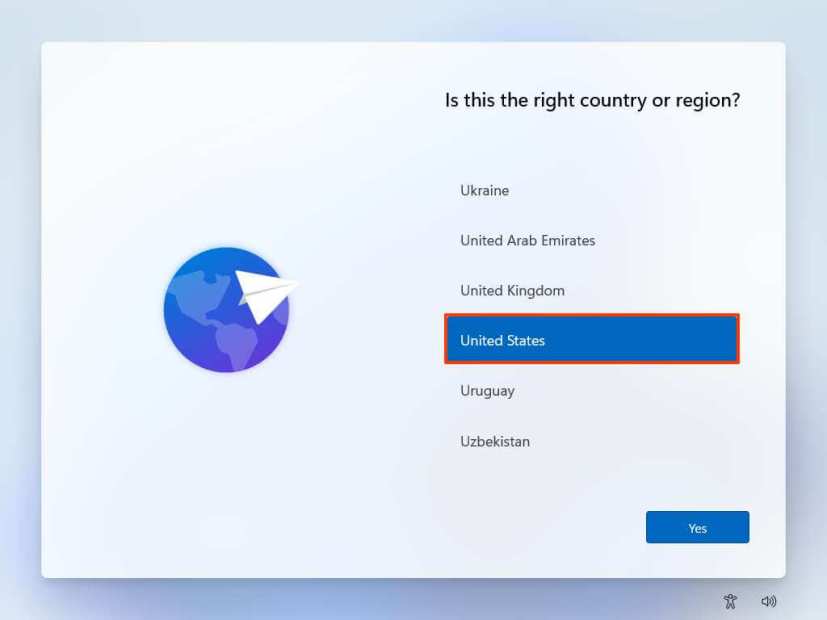
Select your region setting after the installation on the first page of the out-of-the-box experience (OOBE).
-
Click the Yes button.
-
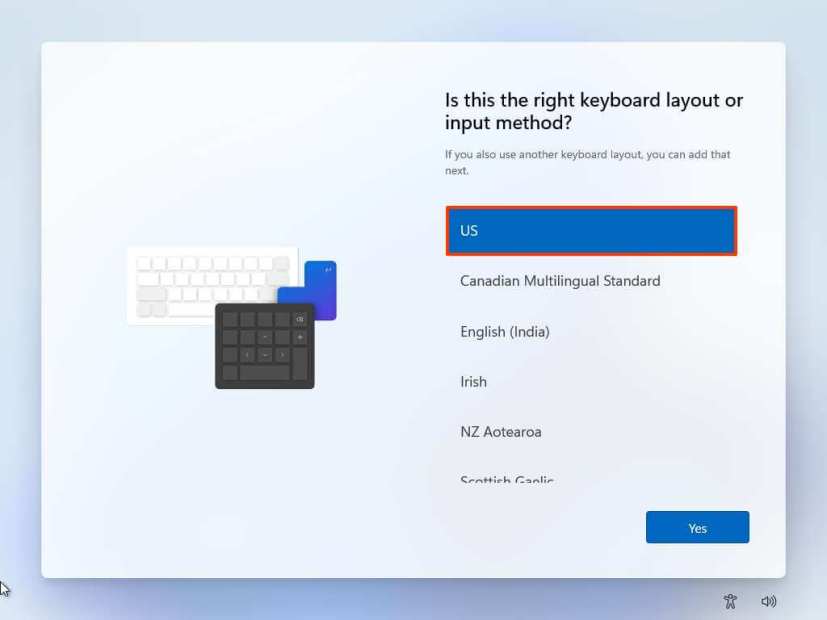
Select your keyboard layout setting.
-
Click the Yes button.
-
Click the Skip button if you do not need to configure a second layout.
-
The computer will automatically connect to the network using an Ethernet connection. If you have a wireless connection, you must set up the connection manually (a security key may be required).
-
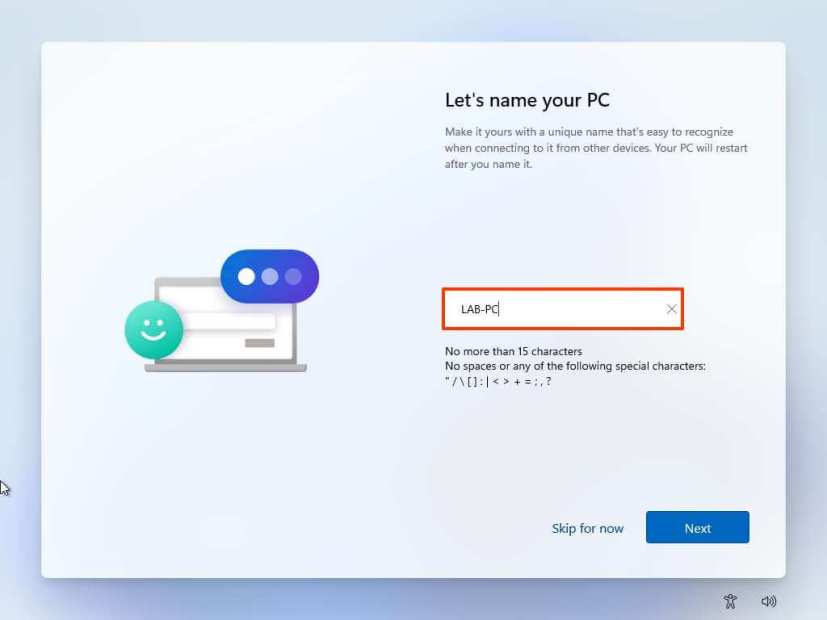
(Optional) Confirm a name for the computer.
-
Click the Next button. (The device will restart automatically.)
-
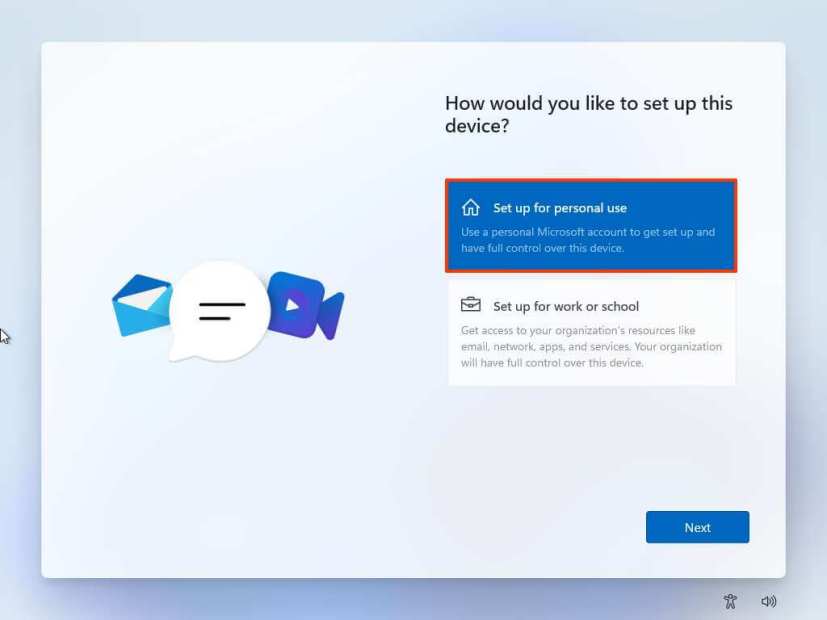
Select the “Set up for personal use” option if you are configuring Windows 11 Pro. The “Home” edition does not have this option.
-
Click the Next button.
-
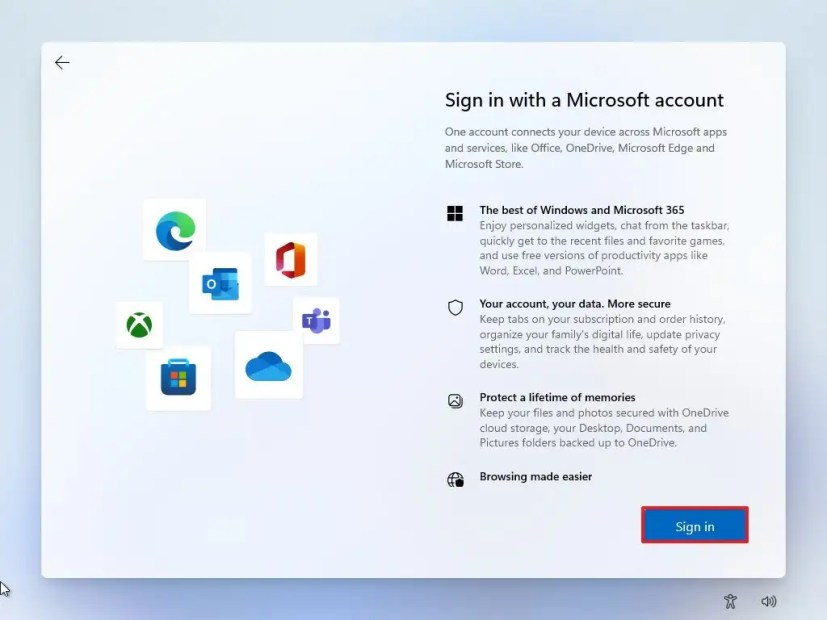
Click the Sign in button.
-
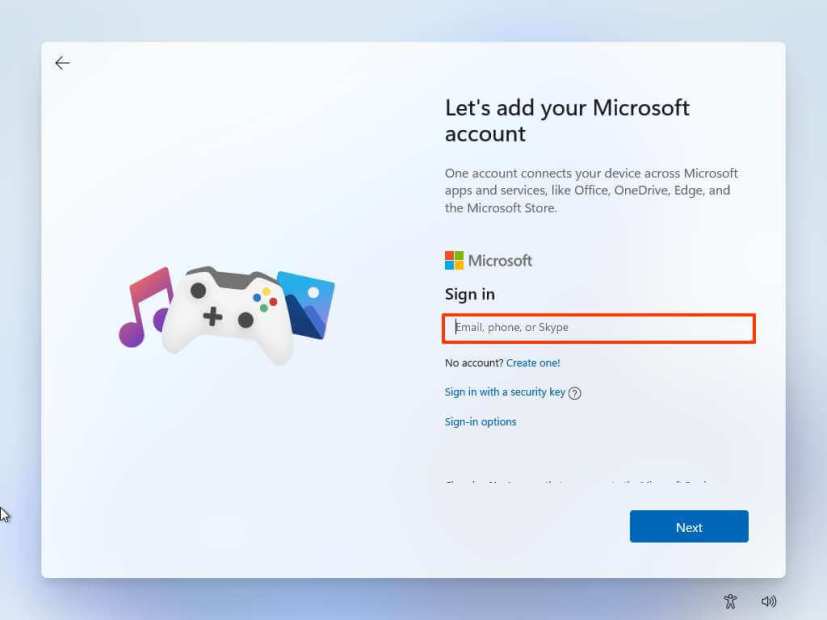
Confirm your Microsoft account email, phone number, or Skype identification to create an account.
-
Click the Next button.
-
Confirm your Microsoft account password.
-
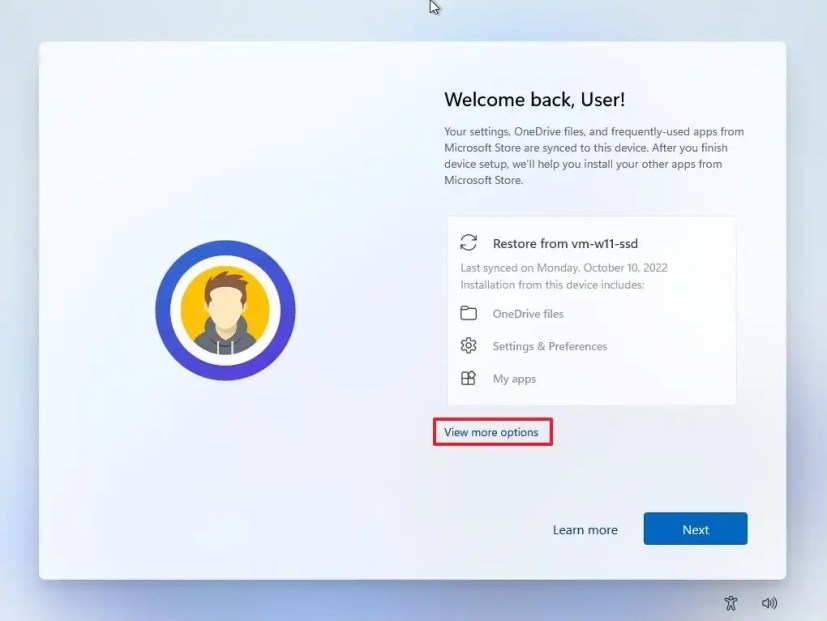
Click the Next button.
-
Click on “View more options.”
-
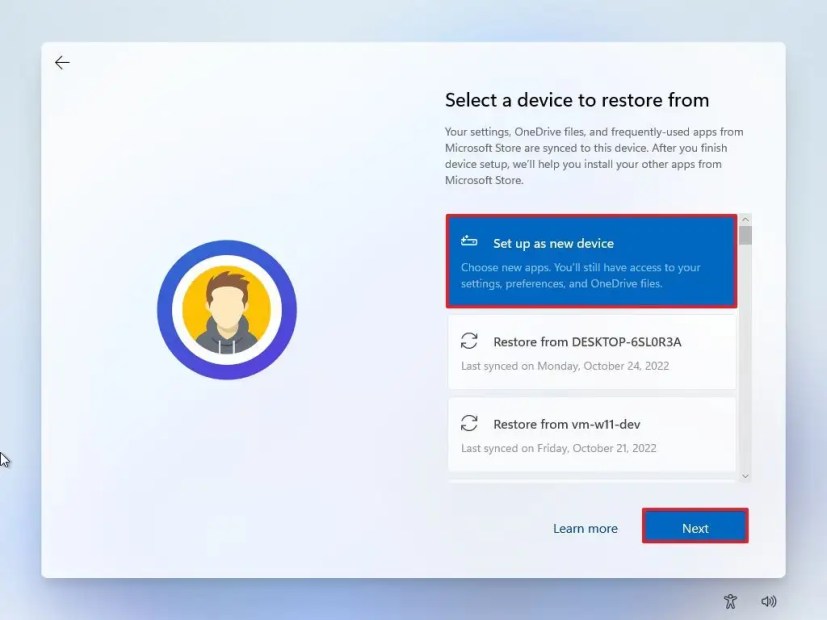
Choose the “Set up a new device” option.
-
Click the Next button.
-
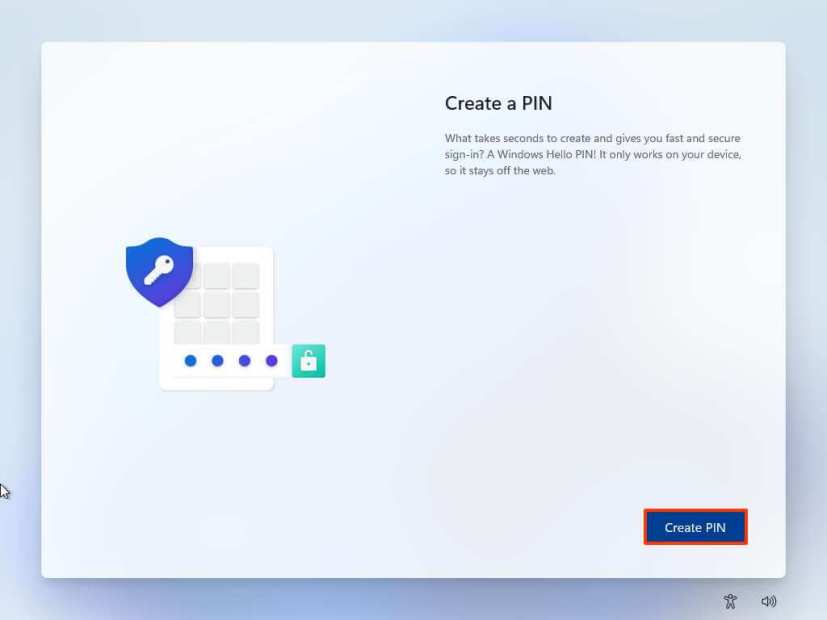
Click the Create PIN button.
-
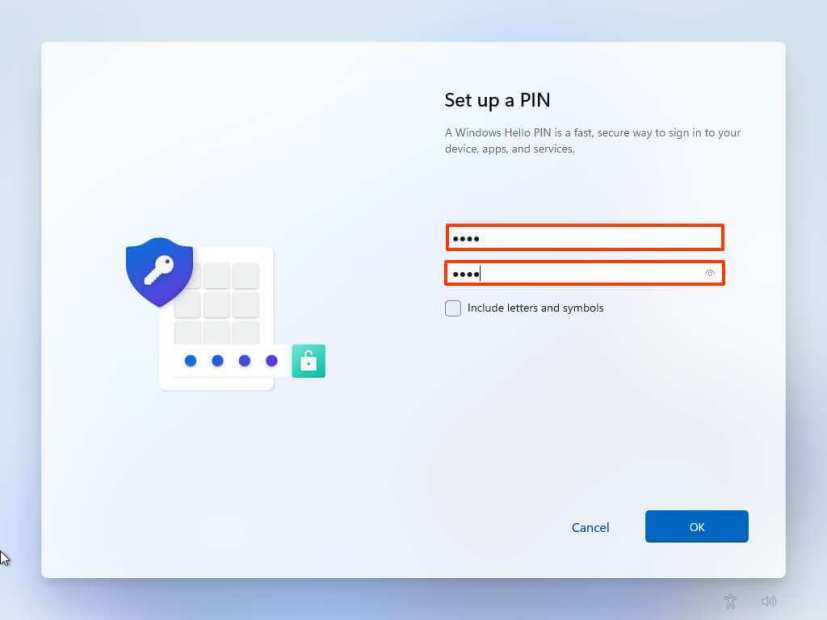
Create a new four-digit PIN.
-
Click the OK button.
-
Confirm the privacy settings by turning on or off the toggle switch for each setting.
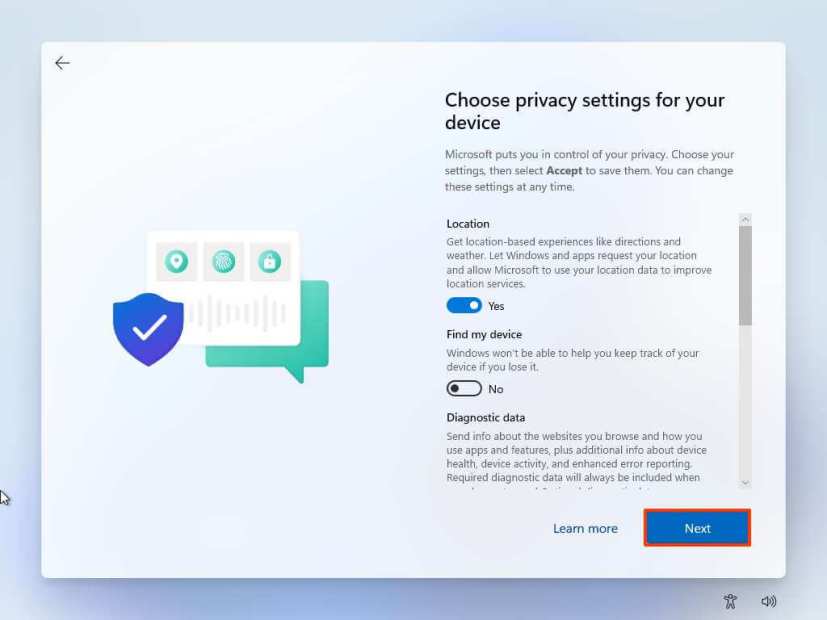
-
Click the Next button.
-
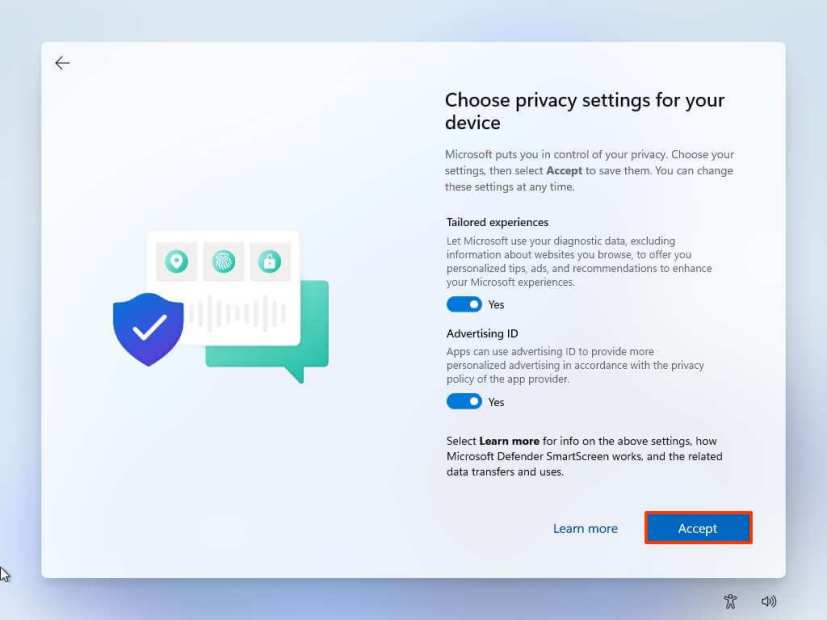
Click the Next button again.
-
Click the Accept button.
-
(Optional) On the “Let’s customize your experience” page, select one or more ways you plan to use the device to allow the setup to suggest tools and service customizations during this experience.
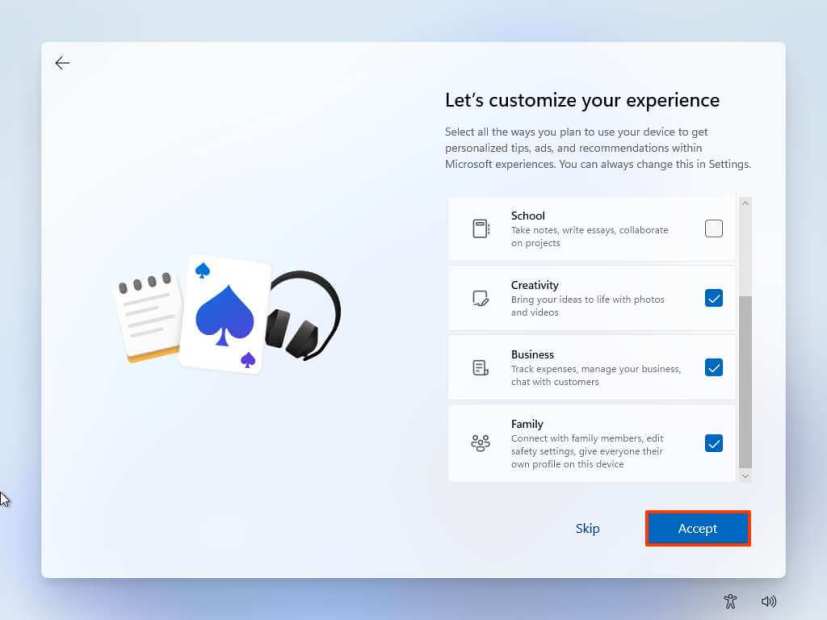
-
Click the Accept button to continue. Or click the Skip button to skip this part of the setup.
-
Click the Skip button for the Android phone link process.
-
Click the “Next” button to automatically upload your Desktop, Pictures, and Documents folders to OneDrive. Or Select the “Only save files to this PC” option.
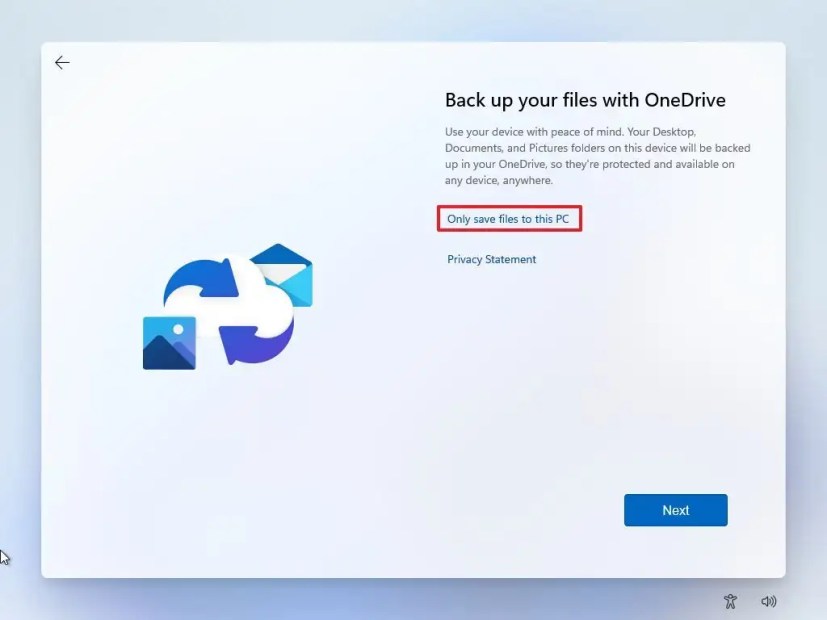
-
Click the Next button.
-
Click the Decline button to skip the Microsoft 365 setup.
-
Click the “Skip for now” button to skip the Game Pass subscription promotion.
Once you complete the steps, the installation of the preview of Windows 11 will install on your computer.
Although the installation process will be virtually the same on every release, the out-of-box experience (OOBE) may be slightly different depending on changes the Windows teams may implement.
While the setup using a preview build of Windows 11 should enroll the device automatically, it’s also a good idea to check that the device is actually enrolled in Settings > Windows Update > Windows Insider Program.
If you prefer to perform a clean installation, the process is the same as installing the official stable version of the operating system from USB.
FAQ
Is it safe to install Windows 11 Insider Previews?
Yes, it’s safe to install Windows 11 preview builds, but you should know a few things. These preview builds are not complete, and they’re still under development, so bugs and errors are expected. You should never install an Insider Preview as your primary operating system. Also, creating a backup is recommended in case you need to roll back to the previous version.
Can I switch from insider builds to the stable channel of Windows 11?
Yes, when you upgrade to any available preview builds of Windows 11, you can roll back to the previous version during the first ten days of the original installation. If it’s been more than ten days or multiple build updates, you will have to roll back using a clean installation of the stable version of Windows 11 or 10.
How do I stop getting Windows 11 Insider Previews?
To stop receiving Windows 11 insider builds, open Settings > Windows update > Windows Insider Program, click the “Stop getting preview builds” and turn off the “Unerolled this device when the next version of Windows releases” toggle switch. You will continue to receive builds, but once the new version of Windows 11 becomes available, the computer will gracefully opt out of the program.
Do I need to activate Windows 11 to use Insider Previews?
Yes, you need to activate any installation of Windows 11, including those from the Windows Insider Program. If you enroll a device running Windows 11 or 10, the system will use the existing license to activate the installation. Otherwise, you will need to purchase a product key to activate the setup. If you don’t activate the installation, you may still be able to use the operating system, but with limited functionalities.
How do I install new Windows 11 Insider Previews?
Once you enroll the device to the Windows Insider Program, new builds will download and install automatically through the “Windows Update” settings. You can always force the upgrade from Settings > Windows Update, and then click the “Check for updates” button and click the “Download & install” button (if applicable).